Apply a material
You’ll need IconSwapper on macOS 14 or later. Start with one app you use often so you can judge the result in your Dock.
- Choose Add App, select the custom-icon option, and pick the installed app.
- Keep its original artwork, or drop in your own image.
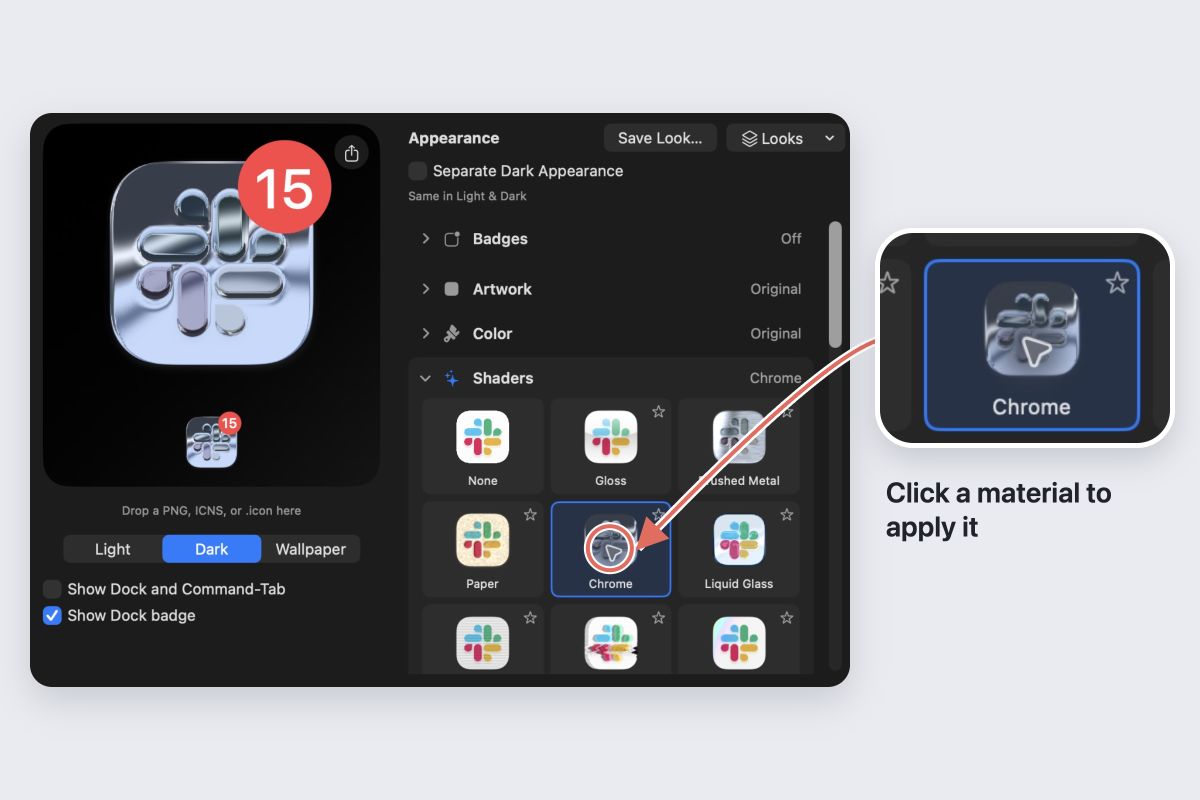
- Expand Shaders. Hover a material to preview it, then click to apply it.
- Adjust Strength to blend the material with the artwork.
- Turn on Show Dock and Command-Tab if it is off, and follow any permission prompts.
Keep IconSwapper running. Check both the Dock and Command-Tab at the sizes you normally use.
Try three finishes
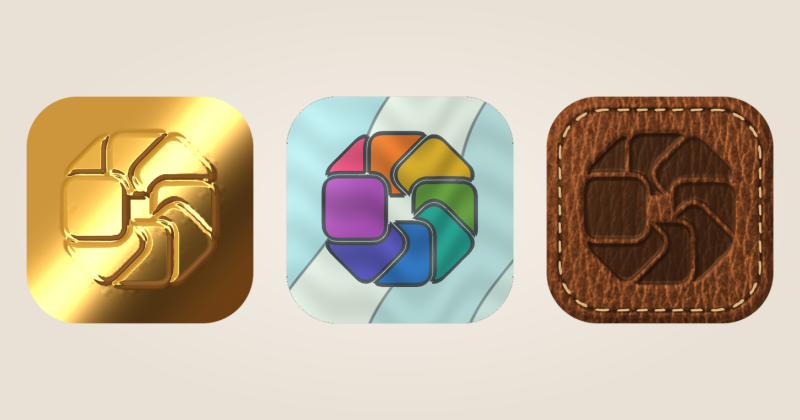
Stained Glass divides the artwork into colored panes. Start with a bold, simple icon so the main shape stays clear.
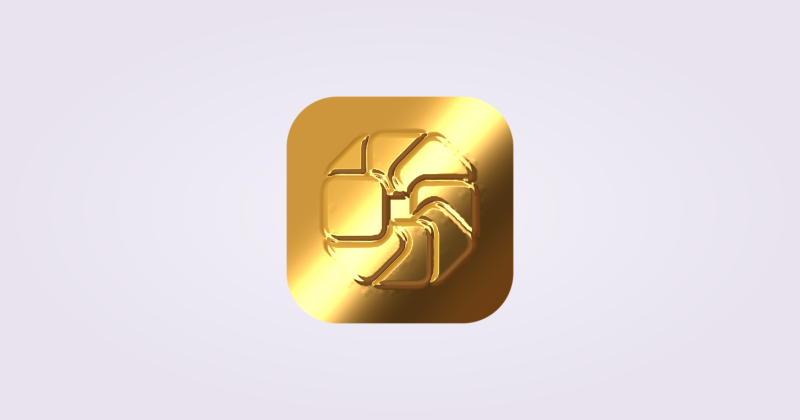
Gold gives the icon a metallic surface that catches the light as the pointer crosses it. Lower Strength if you want more of the original artwork to show through.
Tooled Leather adds a textured finish. Try it on a recognizable silhouette and check that small lettering is still readable.
These are starting points, not saved presets. Your source artwork changes the result. Use Color before the shader if you want to adjust the underlying palette.
Choose the motion
Use Motion to choose how the material animates. On Interaction responds to Dock hover and app-switcher selection. Still keeps a representative frame.
Automatic varies by material. Some finishes react to interaction; others also consider external power. macOS Reduce Motion keeps the artwork still.
Save the look
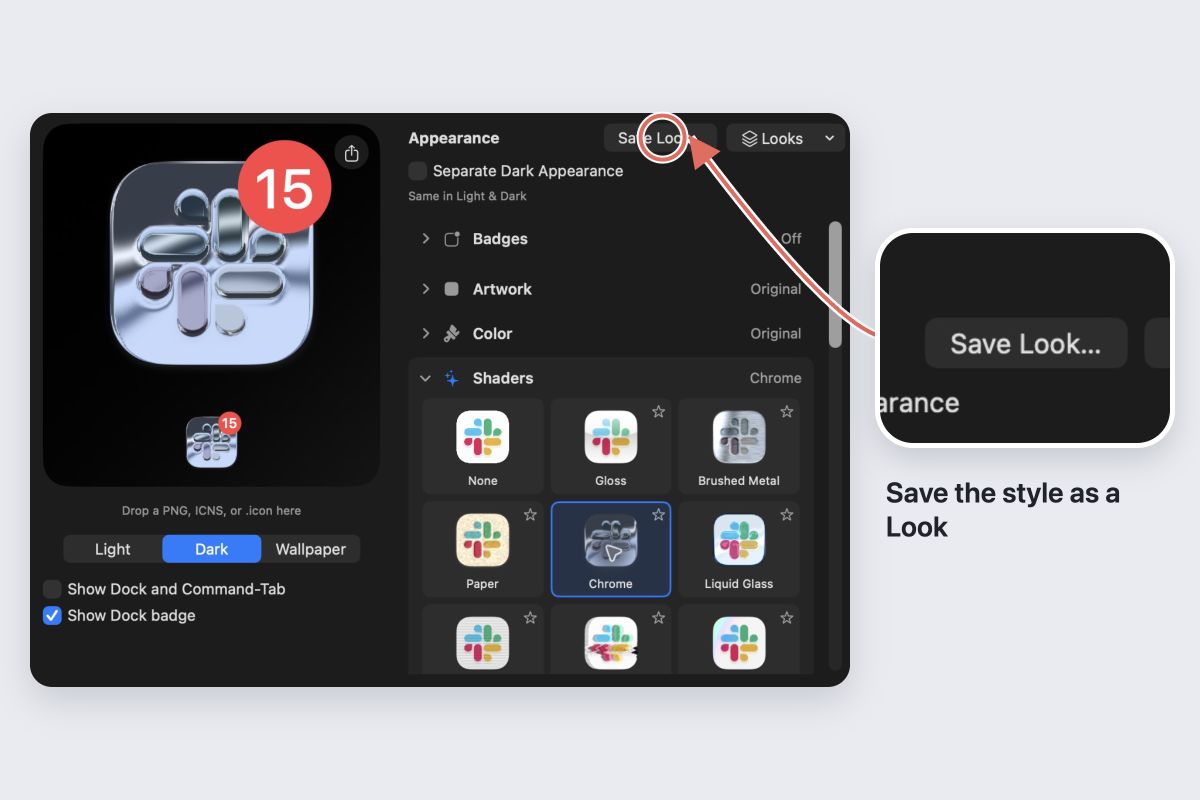
Choose Save Look… and give the style a name. Use Looks to reuse it on another Custom Icon. Check each app afterwards: a finish that works on a simple shape can hide detail on a busy one.
You can combine a material with decorations in Dress Up. Try one addition at a time.
Go back to the original
Choose None in Shaders to remove just the material. Choose Restore Original Icon to return the app’s Dock and Command-Tab artwork to its original appearance.