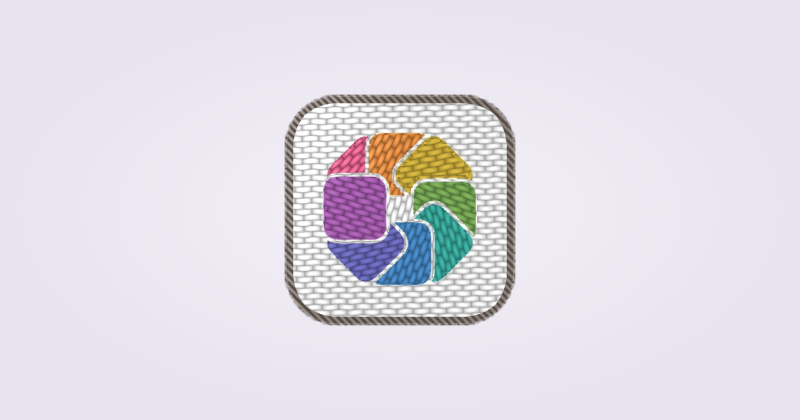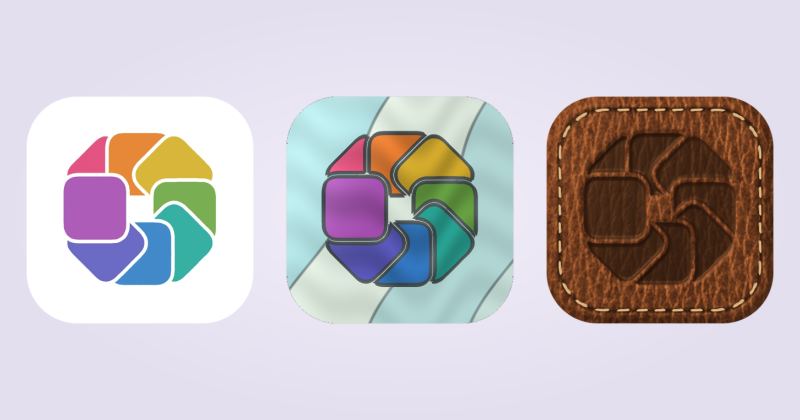
Import the artwork
Use IconSwapper on macOS 14 or later. Start with artwork you made or have permission to use.
- Prepare a square PNG with transparency if you want the icon’s silhouette to show without a rectangular background. IconSwapper also accepts ICNS and .icon files.
- Choose Add App, select the custom-icon option, and pick the installed app.
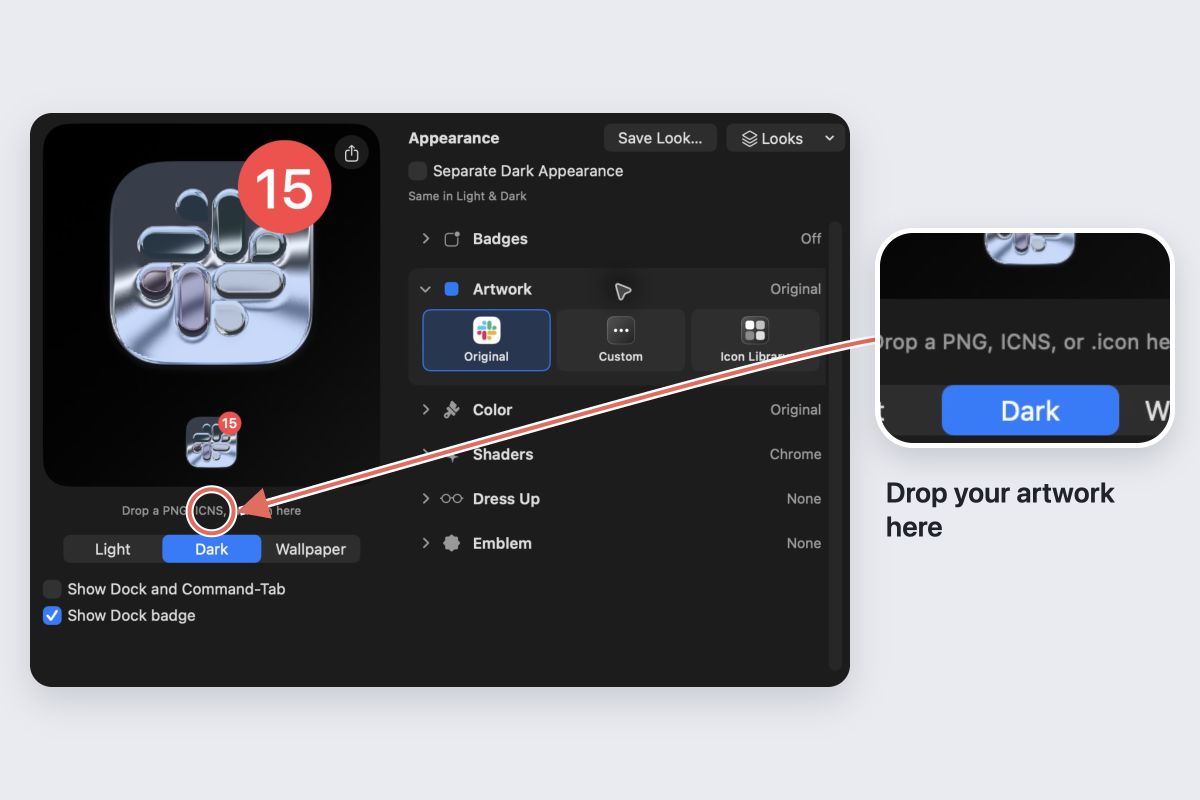
- Drop the artwork into the editor’s image area.
- Turn on Show Dock and Command-Tab if needed and follow the permission guidance.
Keep IconSwapper running. This changes the displayed Dock and Command-Tab artwork; the app file in Finder may retain its original icon.
Check the edges and spacing
Use a sufficiently large source image so you are not enlarging a tiny thumbnail. Look for clipped shadows, a stray background rectangle and details that vanish when reduced.
Leave breathing room around the main shape. Compare it with neighboring icons in your actual Dock rather than filling every pixel of the large editor preview.
Style it after importing
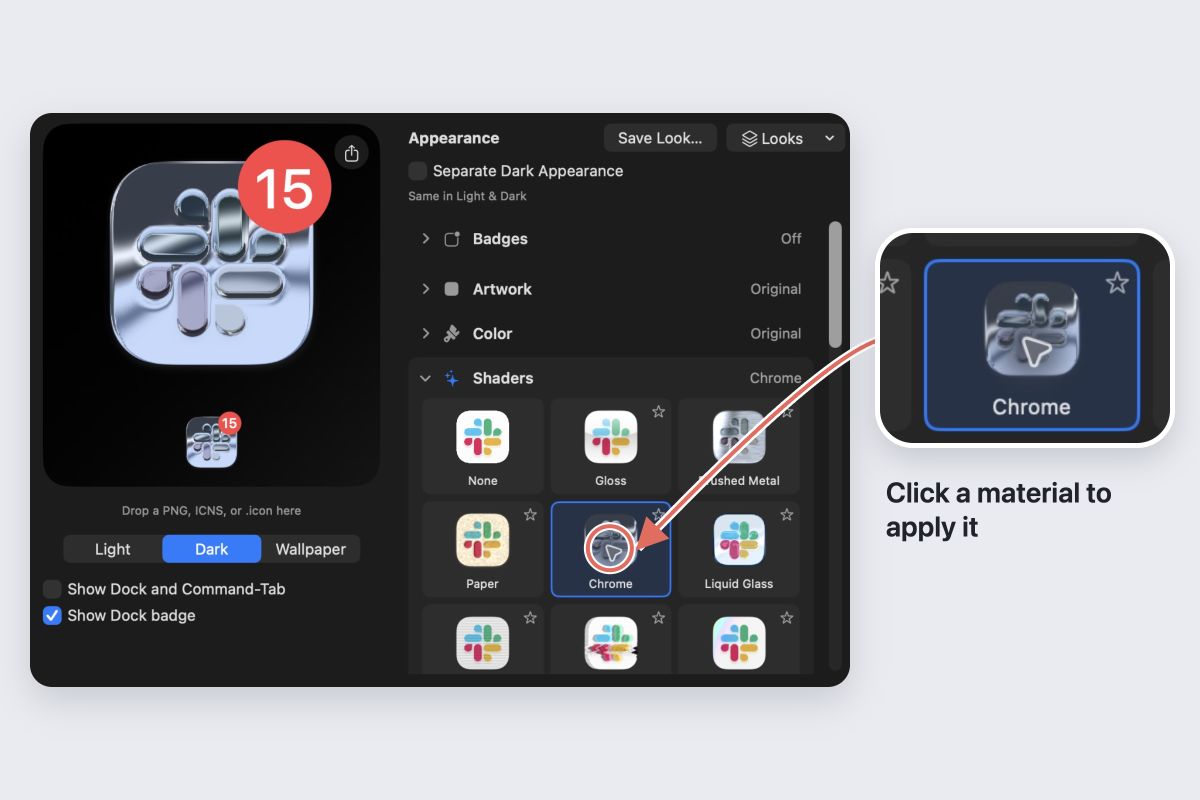
Try Color, Shaders or Dress Up once the base artwork fits. Add one treatment at a time and check whether the app remains recognizable.
For help with silhouette and contrast, read Design icons that work at Dock size.
Restore the original artwork
Choose Restore Original Icon to return the original Dock and Command-Tab appearance. Keep your source image somewhere safe if you want to edit or reuse it later.